.png)
Save time by generating reports easily in a drag and drop interface with an instant preview, filtering and aggregation of data. Say hello to Moodle Workplace, the corporate LMS that enables you to train your people with an engaging learning experience.
Overview
Moodle Workplace provides a graphical custom reporting tool. Moodle Workplace custom reports are built using the report builder interface, which provides advanced customization options to administrators. System reports are used in every listing in the Workplace: Dashboard, Programs, Certifications, Dynamic rules, and even in the Report builder itself.
Accessing the report builder
The report builder can be made available to all users and is accessed from the Workplace launcher. For instructions on granting access to a report, see the configuring audience section below.
Creating a custom report
To create a new custom report, the administrator clicks the plus icon on the Reports tab. Reports can use any data from their data sources, including data from the Workplace Datastore that contains historical information and snapshots of past events.
After selecting a data source for the new report, we can click on a column and add it to the report. To use aggregation on any column, we just need to click on the “Select an aggregation for the column” icon and then we can select the kind of aggregation depending on the column data type.
Limiting the number of custom reports
A site administrator can restrict the number of custom reports that can be created per site/tenant by adding the following line(s) to the site configuration:
$CFG->tool_reportbuilder_limitsenabled = true;
$CFG->tool_reportbuilder_sitelimit = ;
$CFG->tool_reportbuilder_tenantlimit = ;
Omitting this configuration, or setting $CFG->tool_reportbuilder_limitsenabled = false; indicates that no limit should be applied to the number of custom reports that can be created. Enabling limits and setting the values to 0 will disable the creation of custom reports. Note that a tenant limit cannot exceed a size limit.
Conditions and Filters
Clicking in the “Show/hide filters sidebar” icon on the right will expand the right panel that we can use to define conditions and filters and set the default sorting order. Using conditions, we can pre-filter the report for the users. Conditions cannot be changed in the viewing mode. In the filters tab, we can define filters and we can define the default sorting order using the last tab just by selecting and rearranging the available options.
Preview report
Finally, the report can be reviewed by clicking the “Switch to preview view” icon, and it displays as it would for the person viewing the report, including any conditions defined. Filters can be reset using the icon on each filter or all at once.
Sending report results
Custom reports can be created and scheduled to be sent out to specific audiences. From the manage custom reports page, navigate to the schedules tab. Here, the administrator clicks the “New schedule” button and selects which report they would like to be sent. Various report formats are available to use for attached report data (CSV, Excel Spreadsheet, HTML, JSON, ODS, PDF), as well as recurrence options (send every weekday, month, etc). The administrator can also select which user should be used when sending the scheduled report. This allows the report to be sent to the audience as if it were being viewed by that user.
The audience options allow the administrator to select which users should receive the report. In addition to selecting which position and department within an organisation should be included, it is also possible to manually select individual users and/or e-mail addresses.
Finally, the message subject and content can be configured.
Configuring audience
Any person with the capability to manage or view reports can view all custom reports defined in their tenant. It is also possible to specify individual jobs that will grant access to the reports to their holders. To specify which jobs should be able to access a given report, navigate to the “Audience” tab when editing it. To specify a new job press the “Add job” button and select the preferred position and department that comprises the job. You can add as many jobs to set the audience for the report as necessary. Once complete, press the “Save changes” button. To confirm which users now have access to the report, switch to the “Access” tab.
In addition to granting user access to reports, it is also possible to specify which users should be listed in any given report. To achieve this the “Relation to the report viewer” condition should be added to the report.
Shared reports
After enabling Shared space, users can create shared reports inside of it. These shared reports will be listed on the custom reports page in all tenants and will be marked with a “Shared space” label next to it. This feature enables users to use the same report definition site-wide without duplicating the same reports in all tenants. It also allows creating cross-tenant reports. When a shared report is viewed from inside the tenant it only displays the users and entities from this tenant. When a shared report is viewed from a Shared space it shows information from all tenants. Reports in the shared space can be shared with all tenants or be only accessible to users with access to the shared space.
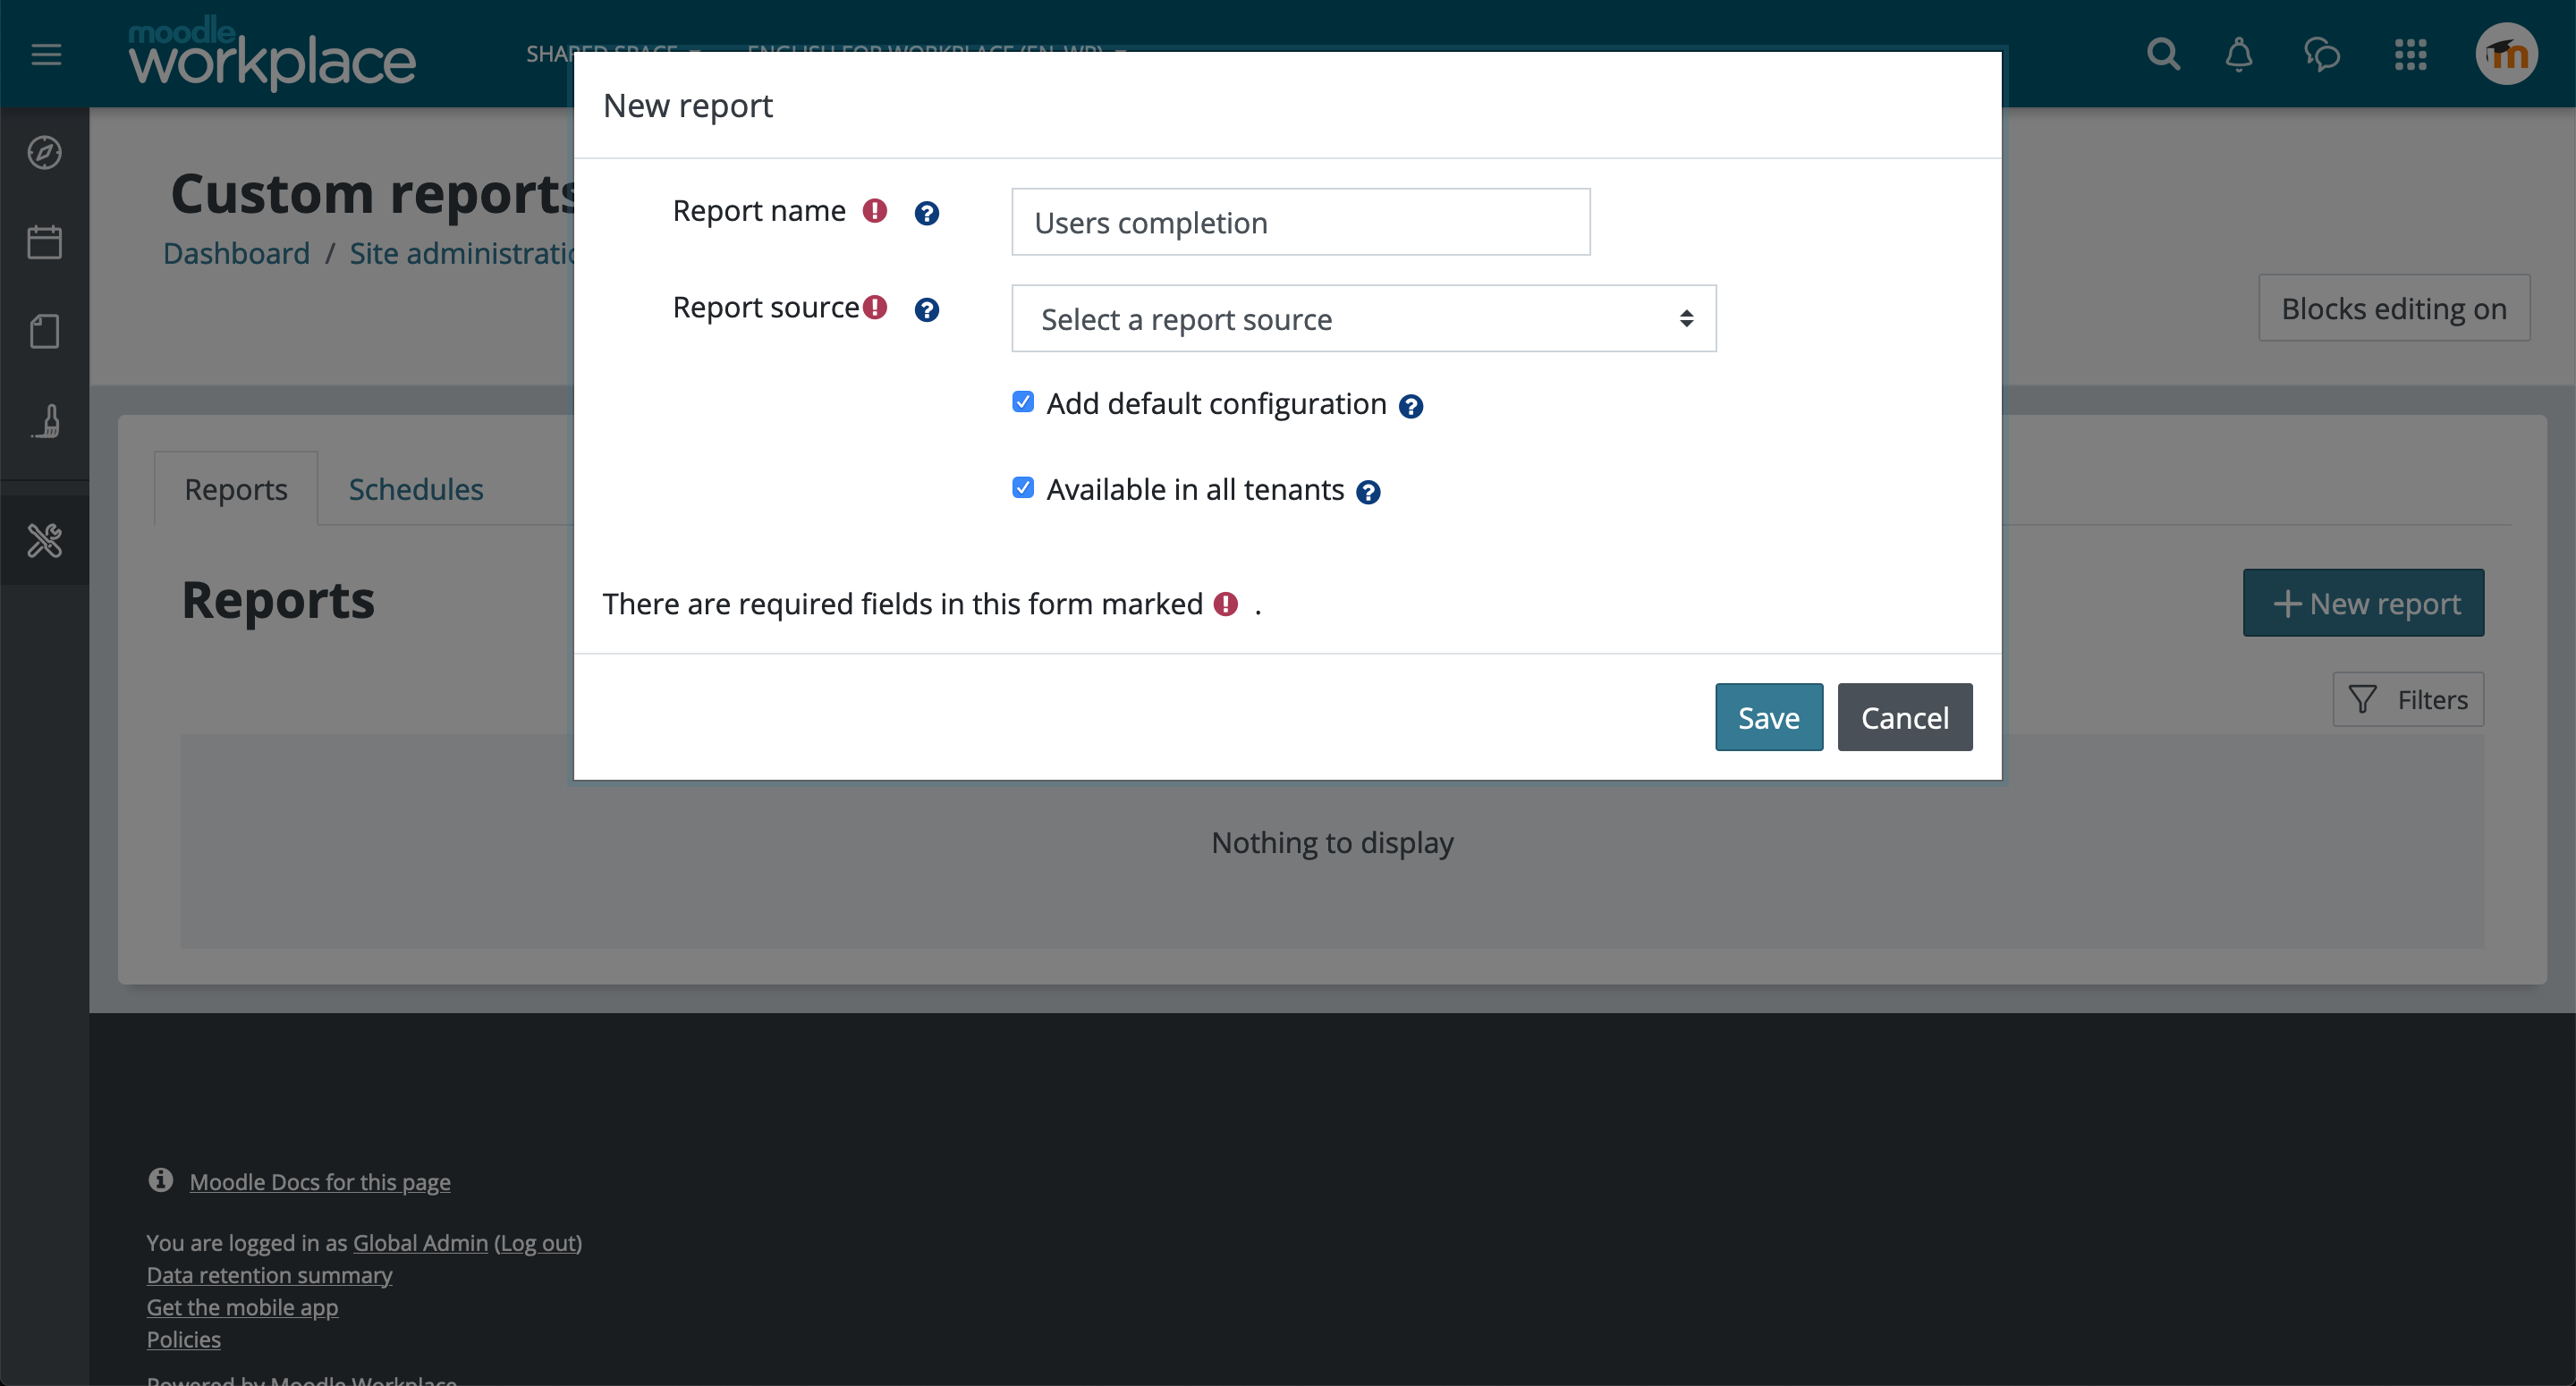
Creating a new shared report:
Access the Shared space from the tenant switch dropdown, in the navigation bar. When inside the Shared space go to Report Builder in the Workplace launcher and create a new report as usual. There’s a setting to effectively share the report to make it available to other tenants. If this is not set, the report will be available only in the shared space (see the screenshot below).
We know there’s quite a bit of information there, get in touch with one of our experts today and get started with Moodle Workplace. If you want to discover more about Moodle Workplace, why not check out our previous Webinars over on our YouTube Channel.